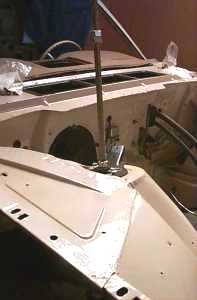
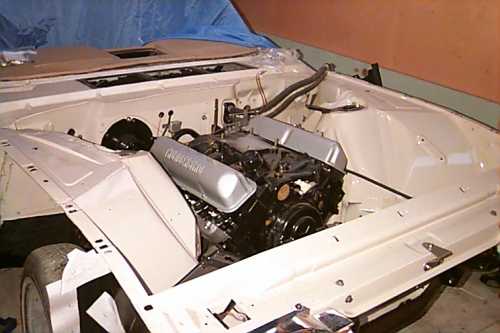
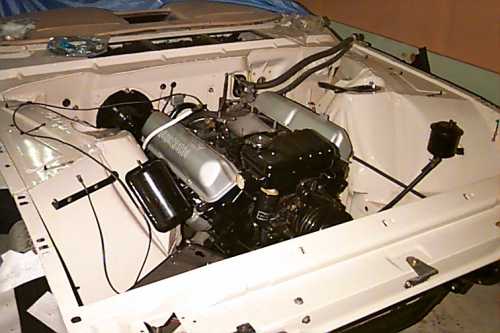
Installing Suspension and Engine
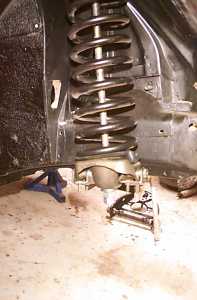
Installing the springs. When I went to remove these, I didn't trust any spring compressor I could find. I went to an engineering supplies store & got a 3ft length of 5/8" diameter high tensile threaded rod and several nuts & washers (also high tensile). I removed the shock absorber and replaced the top mounting plate. I put the rod down from the top through the spring seat on the upper suspension arm. On the bottom end, I put two washers followed by three nuts, tightening the nuts so they were locked together near the end of the rod. On the top end, above the shock mount, I put 2 washers and a single nut, well greased. Further up the rod, I put two more nuts locked together. I then removed the 4 nuts holding the lower spring seat to the suspension arm. I could then safely sit inside the engine bay and screw down the nut above the shock mount, pulling the spring and lower seat up off the suspension arm. I figured that the weakest part was the nut I was tightening and if that let go, the 2 nuts higher up would catch it. It worked perfectly. Once the spring was compressed enough, I could unbolt and remove the suspension arm, then back off the top nut until the spring was loose. Just to be extra careful, I threw that nut away & used a new one for the other spring. These picures show replacement using the same method.
|
|
|
|

|
|
|
|
|
|
|
|
|